 Loading... Please wait...
Categories

The R4 3DS Newsletter
- Home
- R4 3DS Setup
- R4 3DS Dual Core Firmware Setup
R4 3DS Dual Core Firmware Setup
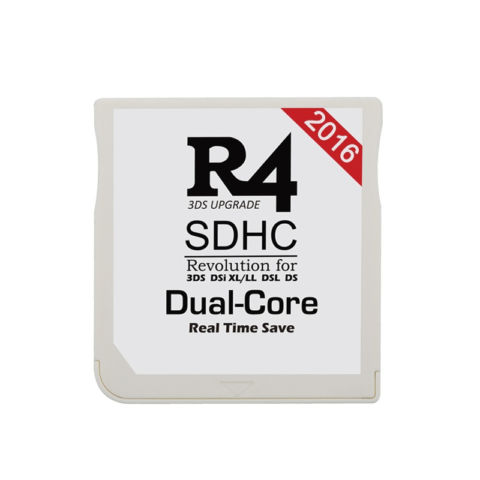
Much like all of our other R4 3DS Cards, the R4 3DS Dual Core (Some people call it the R4i Dual

Core 3DS Card) is very easy to install and setup for all of your emulation and gaming needs. It actually has only one file and one folder that have to be copied over to them micro SD Card in order for the R4 menu to display and show up when you load it.
If you're seeing an error message on yoru 3DS or DSi system, and have the firmware files loaded, it is more than likely due to the firmware kernel being put in the wrong place on the card itself. This is a very common mistake, and people often unarchive or uncompress the firmware files, which most of the time creates a folder that has the same name as the firmware files themselves. If you copy over that folder, with the file and folder below over to your micro SD card, you WILL see an error message.
The only file and folder you should have in the ROOT of your micro SD Card can be seen below. There should be three folders, called moonmemo, moonshl2, and R4iMenu. There should only be one file named R4.dat - without exception. If you have this folder and file within or inside another folder, your will get an error message on your 3DS consoles screen, and the r4 menu system will not load up or enable you to load any of your apps, media or games.

So what do we mean when we say the ROOT of your micro SD card? Simply put, it means the main directory of your SD card. The included USB reader, when the micro SD is inserted and then plugged in to your free USB port on your computer, will enable you to have a removeable drive letter on your PC or MAC (or Linux). When you click on this drive letter, it opens up a new window, and there should be absolutely nothing there. This is the ROOT of your micro SD card. If you have a folder there, and click on that folder, you are no longer in the ROOT portion of your micro SD card, but instead, you are in the FOLDER NAME of your micro SD. You need to copy and paste the above file and folder directly to the root of your micro SD card. The firmware files should not be in any other folder at all, and when you see the micro SD card after clicking on its drive letter, the only thing you should see are the above file and folder showing.
Step By Step R4 3DS Firmware Setup:
1. First, you'll need to take your micro SD card and put it in to the included Micro SD Card reader/writer.
2. Now, insert the USB Reader with the micro SD already installed in to any free USB port on your PC.
3. While most cards come formatted already, right from the factory, we always suggest you format the card again, just to be 100% sure that you have the right file format on the card. Simply Format the card by right-clicking on it and selecting “Format.”
Note: Click on “Start” that you can find at the left corner on the bottom of your screen, click on “My Computer” and then right-click on the memory card icon.
4. When asked what format you would like to have, Select “FAT 32” and get the check mark off the “Quick format” option then click “Start.”
5. Make sure to download the very newest version of our R4 3DS Dual Core firmeware from our R4 3DS Firmware section on our site.
6. Unzip the folder. Do a right-click on it and select “Extract.” Note: The extraction process needs winrar or winzip. If you don't have either WinZip or WinRar, the freeware version of 7-zip will work just as well, and it's absolutely free.
7. Select all these items and copy them. Note: Click-drag all four elements, right-click on them and select “Copy.”
8. Copy all the files to your memory card.
- Note: Right-click on its icon and select “Paste.”
9. Eject the memory card and insert it into the R4 3DS.
10. Plug your R4 3DS in to your DS, DSi or 3DS Console, and power up your console. You'll see the R4 there, sometimes called a new game name.


